We might not be experiencing the pain of a yellow mustard spill at a Mets game or boozy date nights involving Cabernet, but quarantine stains hit differently. Our first world problems seem magnified in lockdown. Something as small as spilled coffee on your favorite sweats to kitchen mishaps from a TikTok recipe can reveal just how close we are to a mental breakdown.
To help calm you down, we spoke to industry-loved experts to tackle your scariest stains: Gwen Whiting and Lindsey Boyd, the co-founders of The Laundress (a collection of eco-friendly detergents and fabric care specifically designed to be gentle on your favorite designer delicates), and Zachary Pozniak, VP of Operations at the renowned, high-end, luxury dry cleaning company, Jeeves New York. Pozniak is also the face behind the addictive Tiktok account, @cleanfreakz, which lays out 60-second tips on how to remove stains from a Celine bag to a Prada puffer jacket.
We asked them for a few general dos and don’ts on tackling at-home removal, plus detailed step-by-step instructions on how to reverse makeup, grease, and food stains below.
DO read the garment label
Here’s a general rule of thumb: if the item says dry clean only, then dry clean only. Pozniak does not recommend trying to lift stains on these items yourself, so trust the professionals to do the dirty work for you. If it can be washed at home, then proceed with caution and care.
DON’T panic when you get a stain.
The moment a stain hits your favorite designer garment, it happens so fast you swear it went down in slow-motion straight out of a laundry commercial. The key is not to panic. “The most common mistake we see people do is using paper napkins, club soda, or whatever’s around to attempt to remove the stain, which, for the most part, only makes it worse,” says Boyd. “It’s better to wait and treat it at home, where you can use the proper products and tools and have time to treat the affected area. Any frantic attempts can end up making a bigger mess, leaving you with traces of paper lint on the item and an even larger stain.”
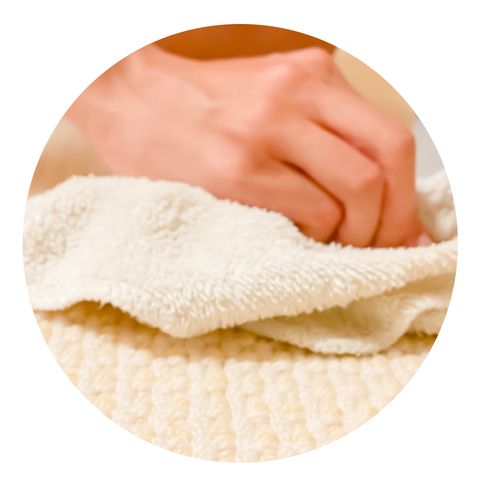
DO dab (not wipe)
“Avoid using paper towels, napkins, or tissue” says Whiting. The Laundress created the Lint-Free Cleaning Cloth as an easy “go-to” cloth for removing stains. Instead of spreading the stain in by rubbing, use a dabbing motion pulling up, which lifts the stain. For your tool, choose a cloth that is free of lint.
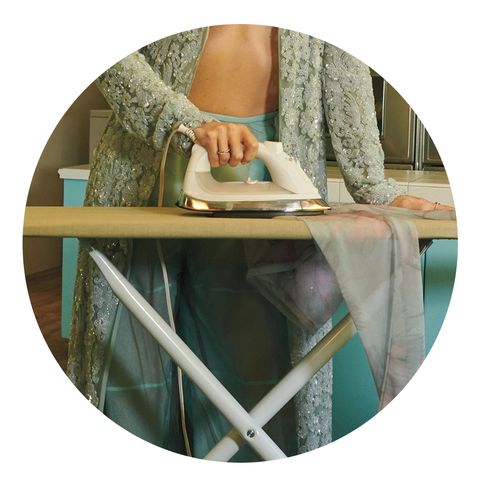
DON’T dry or iron an item if a stain is still apparent.
Before you do anything, make sure you don’t add any heat to the material. The heat from a dryer or iron can lock the stain into fabrics, making it difficult to remove later on.
DO have these three household items handy:
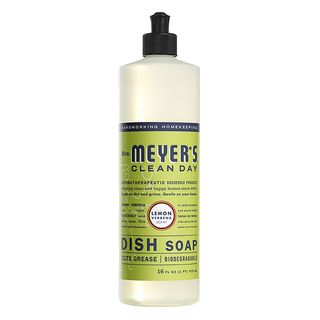
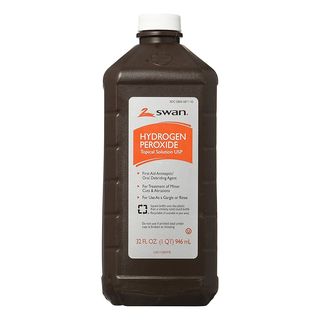
“The best pretreatment stain remover is not one from the grocery store or a pharmacy but one you can make at home,” says Pozniak. “Fill a spray bottle with water, a teaspoon of dish soap (I really like Dawn), and a quarter cup of white vinegar and shake and apply as needed. Three percent hydrogen peroxide can be purchased in your local drug store and it is usually in the First Aid aisle, a bottle is inexpensive, and it works like magic.”
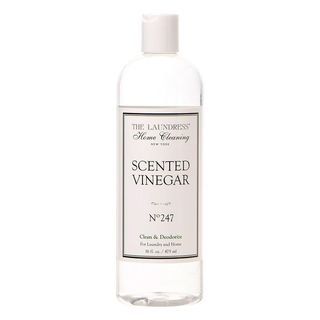
who knew salad dressing could handle your stinky yoga gear? Vinegar is a strong and powerful tool in removing tough odors, according to both pros. “Vinegar acts as a magnet for odors,” says Whiting. “Pretreat odorous fabrics before washing by soaking in a capful or two of Scented Vinegar and warm or cool water for 30 minutes.”
DO soak.
Boyd says soaking the garment is an important step after tackling a stain with treatment. All fabrics benefit from soaking, the process helps the solution penetrate better into the fabric. Use hot waterhen treating everyday items like cotton, durable synthetics, denim, and cool water for delicate materials like woolens, silks, and synthetics.
How to Remove: Food and Beverage
Food and beverage spills are typically tannin stains, which are color-rich and originally derived from plants—aka anything delicious: coffee, tea, juice, fruit, tomato sauce, chocolate ice cream, red wine, etc. If there are chunks visible, carefully remove the top excess with a lint-free towel but do not rub the stain. Pozniak says to approach wine and food as follows:
- Rinse the stain with cold water.
- Before washing, mix up his aforementioned go-to solution of water, dish detergent, and white vinegar.
- Apply this solution to the stain site and allow to sit for fifteen minutes.
- Wash as normal or instructed by the Care Label
- If the red wine/food stain did not come out, do not dry!
- Repeat the above procedure, but if that doesn’t work, apply 3% hydrogen peroxide. Allow to sit for 30 minutes and then wash. This should remove the last traces.
How to Remove: Makeup and Grease
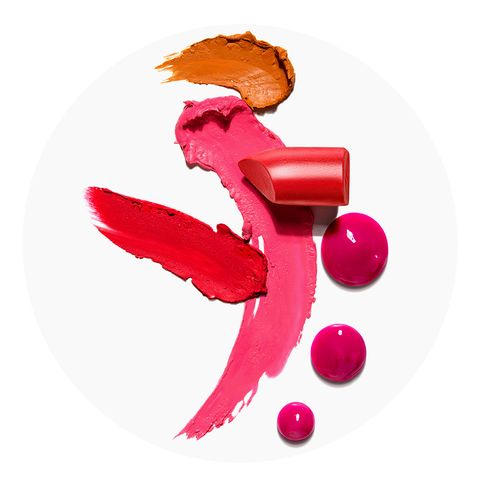
A red lip can make a powerful statement, but we prefer it on AOC rather than your white turtleneck. The Laundress considers lipstick, self-tanner and most makeup a combination stain, meaning it contains both oil and color-rich pigment. Grease stains can be approached in the same way.
Boyd says to lather The Laundress’ Wash & Stain Bar under cool or warm water, then work it directly into the affected area until you see the stain breaking up. Next, apply a drop of Stain Solution on top and massage it in with a toothbrush.
Soak the item for 30 minutes afterward, to allow for the stain solutions to really penetrate into the fabric. Use cool water for delicates as we mentioned, and warm to hot water for everyday fabrics.
Pro tip: For durable fabrics like cotton, “a good trick is to place the item in a basin, sink, or tub, then pour almost-boiling water from a height directly onto the stain,” explains Boyd. “This will really work the treatment into the item.” The force and pressure from the height will assist in penetrating the stain and will do the work for you.
How to Remove: Sweat
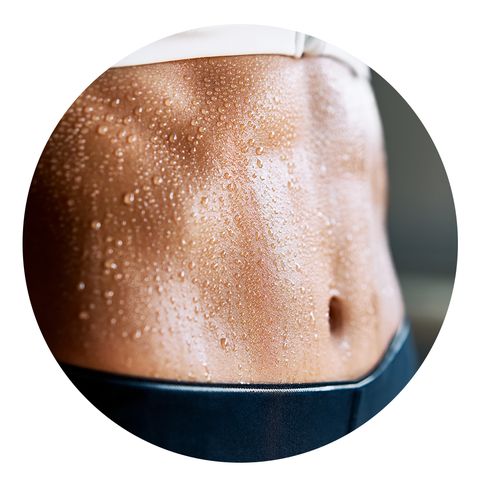
What’s more classic than a clean white tee to complete a laid-back look? It’s effortless and chic, until you lift up your arms to reveal embarrassing yellow sweat stains. Pozniak says armpit stains, yellowed stains, or simply, oxidized stains are difficult and sometimes impossible to remove. “During the cold, dark winter months, those sweat stains which were invisible slowly start to oxidize. Oxidation is a process in which a chemical substance changes because of the addition of oxygen,” Pozniak explains. “On a practical level, stains that dry clear often times contain a component of sugar will turn yellow or brown over a few months’ time.”
- If the sweat stain is on a washable garment, try and get out as much as you can with cold water first. This will prevent it from setting deeper into the fabric.
- Mix up a solution of one cup of lukewarm water, 1/2 teaspoon of dish detergent (not laundry detergent, we like Dawn), 1 tablespoon of ammonia, and 1 tablespoon of white vinegar.
- Apply this solution to the sweat stain site and allow to sit for 15 minutes.
- Wash on the hottest water setting to ensure the lifting of the entire stain.
- Repeat if needed to ensure that the entire stain is gone before drying. Like we said, if you dry before the sweat stain has been completely removed, the stain will set
How to Remove: Blood
It’s fascinating how a tiny spot of blood has the potential to turn into what looks like a massacre on your clothes but it’s happened to all of us, whether it’s a cringe-worthy kitchen accident or it’s that time of the month. For any injuries, consult a doctor, but for bloodstains, you can potentially fix the stain yourself with hydrogen peroxide if you act fast. “Hydrogen peroxide will cause fresh bloodstains to foam, this is to be expected, don’t run away!” says Pozniak. “Fresh blood stains are easier to remove than old bloodstains, so try to take care of this as soon as you can.” Follow his steps below to no longer see red.
- Apply 3% hydrogen peroxide directly to the stained area. Allow the hydrogen peroxide to sit on the stain for 5 minutes. Do not rub the stained area.
- Rinse the stain with cold water.
- Wash as normal or instructed per the Care Label
- After the wash cycle has ended, check to see if the bloodstains have been removed. If the stain is gone, then dry the items as you usually would. If the blood remains, do not put the item in the dryer.
- Try the procedure above again.
This content is created and maintained by a third party, and imported onto this page to help users provide their email addresses. You may be able to find more information about this and similar content at piano.io


